How to Factory Reset Android (Locked & Unlocked)
Over 50% of smartphone users experience lagging or performance issues due to accumulated data. If your Android device is feeling sluggish, a factory reset might be the perfect solution to breathe new life into it. After grappling with sluggish performance on my own device, I discovered the powerful tool of factory resetting.
In this article, I’ll guide you through the process of How to Factory Reset Android Devices. It is a skill that not only declutters your phone but also enhances its speed and responsiveness. Understanding this process not only enhances performance but also safeguards your personal information when you’re ready to sell or donate your device.
What is Resetting an Android Device?
Resetting an Android device to factory settings is an effective way to restore performance, remove unnecessary data, and return the system to its original state. The process clears stored photos, applications, messages, and customized settings, creating a clean environment for a fresh start. While users may feel some uncertainty before beginning the reset, the procedure is designed to be simple and manageable through the device’s settings menu.
Learning how to factory reset an Android device is not only a technical skill but also a practical method for maintaining digital organization. By removing unused android apps and accumulated clutter, users can improve device speed, free up storage space, and reassess which tools and applications are truly essential.
A factory reset is commonly used to troubleshoot persistent software issues, prepare a phone for resale, or rebuild a more organized digital experience. When combined with proper backups, the process allows users to restore important data while still benefiting from a cleaner and more efficient device setup.
When You Reset Your Android Device?
Factory resetting an Android device is an important step when preparing it for a new owner. The process permanently removes personal data, including photos, messages, apps, accounts, and saved settings, helping protect privacy and ensuring the device is ready for someone else to use.
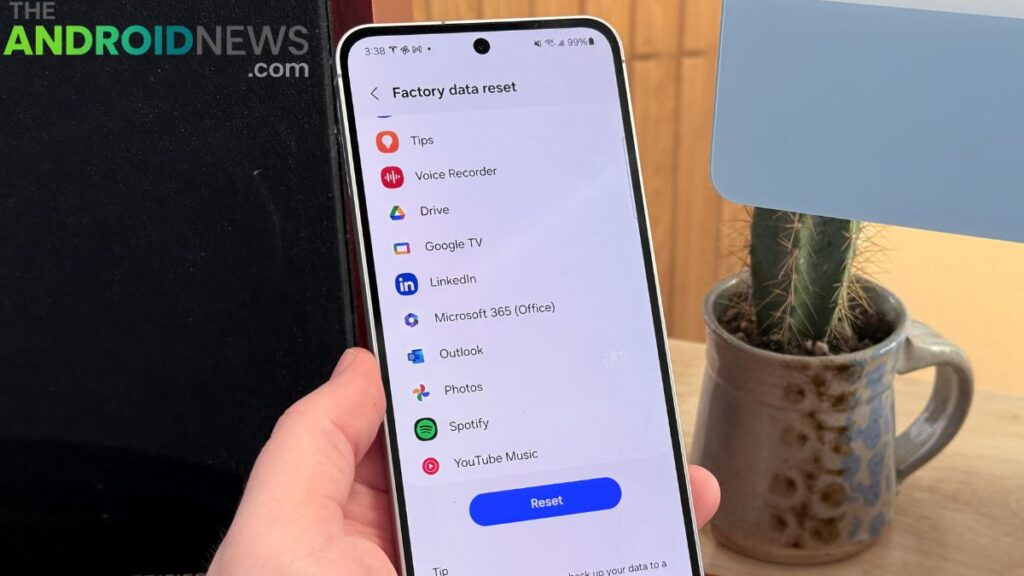
To begin, navigate to the Settings menu and locate the reset options, usually found under System or General Management. Selecting the factory reset option restores the phone to its original software state, similar to when it was first purchased. Before starting, it is recommended to back up any important files and sign out of linked accounts to avoid losing valuable data.
It is not just about passing it on; it’s also about resolving persistent issues. When endless app crashes and sluggish performance plague my experience, a reset comes as a survival strategy. This step may seem drastic, but the sense of starting anew brings a spark of excitement.
Other situations when you may want to reset your device are as follows:
- Selling or gifting.
- Severe lagging.
- System glitches.
- Virus infections.
- Failed updates.
- Storage clearance.
- Bought secondhand.
What to do Before Resetting Your Android Device?
Before initiating a factory reset on an Android device, Delete all registered Google accounts and personal data. This step helps safeguard personal information and simplifies the reset process. Go to Settings, open the Accounts section, and carefully remove each account by following the prompts to confirm deletion.
This prevents any potential complications during the reset and helps ensure that my data is no longer linked. The verification procedure can differ based on my Android version and device type, which I find fascinating. Once you have disconnected your accounts, you feel a sense of relief knowing you’ve taken steps to protect your privacy.
Verify Your Google Account Username and Password
Before resetting an Android device, Verify the Google Account username and password. Many users overlook this essential step, which can lead to difficulties later during the reset process. Forgetting login credentials can quickly turn the process into a frustrating experience filled with guesswork.
It is a good practice to store Google account credentials in a secure location. Having this information readily available not only makes the factory reset process smoother but also helps avoid potential issues or regrets afterward.
Verifying Your Account
- Open the Settings app on your Android phone or tablet.
- Tap [Account].
- If you can’t tap [Account], please contact your device manufacturer.
- Your Google Account username will be displayed.
Verifying Your Password
Before performing a factory reset on an Android device, verify the Google account username and password. This essential step is often overlooked, yet it can help prevent complications later. Logging into the account on another device is a useful way to confirm that the credentials are correct and accessible. This not only provides peace of mind but also helps avoid unnecessary frustration during the reset process.
If the password has been forgotten, Google’s account recovery tools can guide users through the steps to regain access quickly. While a factory reset can offer a fresh start for a device, proper preparation is important beforehand. Ensuring continued access to files, apps, and account data after the reset can help reduce concerns about losing important information.
Taking a moment to ensure all your account credentials are up-to-date allows me to enjoy the reset without the stress of password-related setbacks. By double-checking these details beforehand, you transform what could be a daunting task into an empowering experience, ready to embrace newly refreshed Android updates.
Backing up Your Data to Your Google Account
After deciding to factory reset an Android device. Remember that the process will remove installed apps and saved data. Before beginning, backing up important information to a Google account can help ensure that essential files, settings, and applications are preserved.
A factory reset can be a useful way to clear unnecessary clutter from a device while still keeping important data secure through proper backups. Taking these steps beforehand helps make the process smoother and provides greater confidence that valuable information can be restored afterward.
Once the reset is complete, navigate through the setup process, and soon enough, you will find yourself signing into your Google account. See your familiar apps and cherished data reappearing like old friends, ready to pick up where we left off. This isn’t just about restoring my device; it’s about transferring the essence of my digital life to a new one, making the transition feel remarkably smooth.
Methods of Backup
There are two backup methods: automatic backup and manual backup. It may not be possible to back up data from some of your apps to your Google Account. Here we will explain the manual backup process that you can use to back up your data before you reset a device.
Manual Backup Process
The steps of manual backup are as under:
- Open the Settings app on your Android phone or tablet.
- Tap [Google] → [Backup]. If these steps don’t match your device’s settings, you can search for “Backup” in the Settings app or contact your device manufacturer.
- Tap [Back Up Now]
- For information on scheduling automatic backups, please refer to “Android Help.”
- Check out this video for a more convenient method of backing up your smartphone data.
- Charge and connect to the network
- A reset can take up to one hour, so make sure your Android device’s battery is sufficiently charged.
- Charge your Android tablet or phone to over 70%.
- Connect your Android phone or tablet to Wi-Fi or a mobile network. Once the factory reset is complete, connect to the Internet and sign in to your Google Account.
Some of these steps only work on Android 8.0 and later. Additionally, the reset procedure may vary depending on the device type.
How to Reset Your Android Phone?
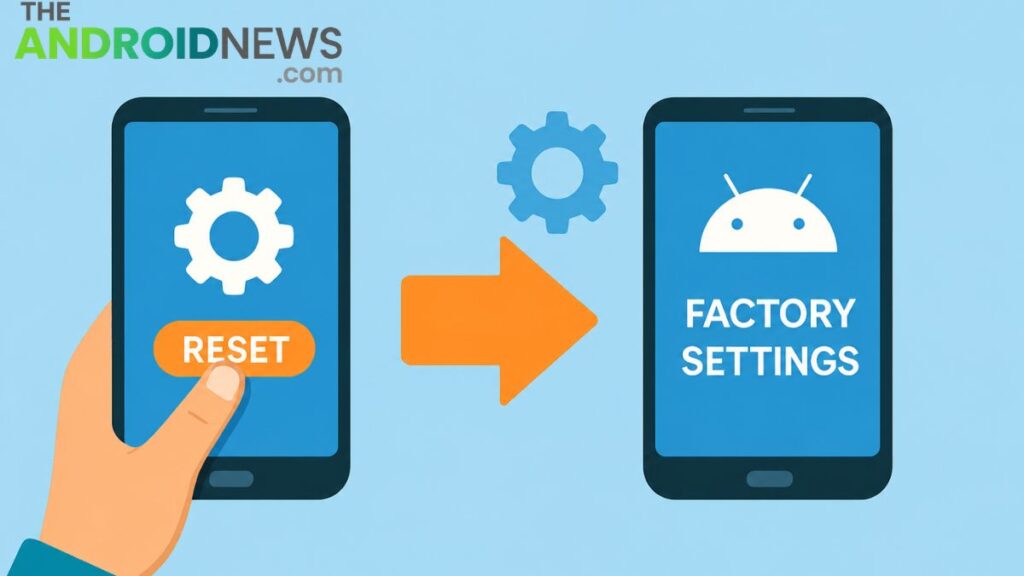
Resetting an Android phone restores the device to its original factory settings, removing apps, files, accounts, and personalized configurations. To begin the process, open the Settings app and navigate to the system or general management section, where the reset options are located. A factory reset erases all user data and returns the phone to the same state it was in when first unboxed.
The reset procedure is designed to be straightforward and can usually be completed within a few minutes. Once confirmed, the device automatically clears stored content and reinstalls the default system configuration. This process is commonly used to resolve software issues, improve performance, prepare a phone for resale, or start fresh with a clean setup.
Back up your data
Go to Settings > Google > Backup and tap Back up now. Make sure your photos, contacts, and app data are fully synced to the cloud.
Plug in your phone
Connect your phone to a charger. If your phone dies mid-reset, it can permanently corrupt the operating system (bricking the device). Ensure you have at least 50% battery.
Navigate to Reset options: In Settings
Open your Settings app. Depending on your phone’s brand, follow one of these paths:
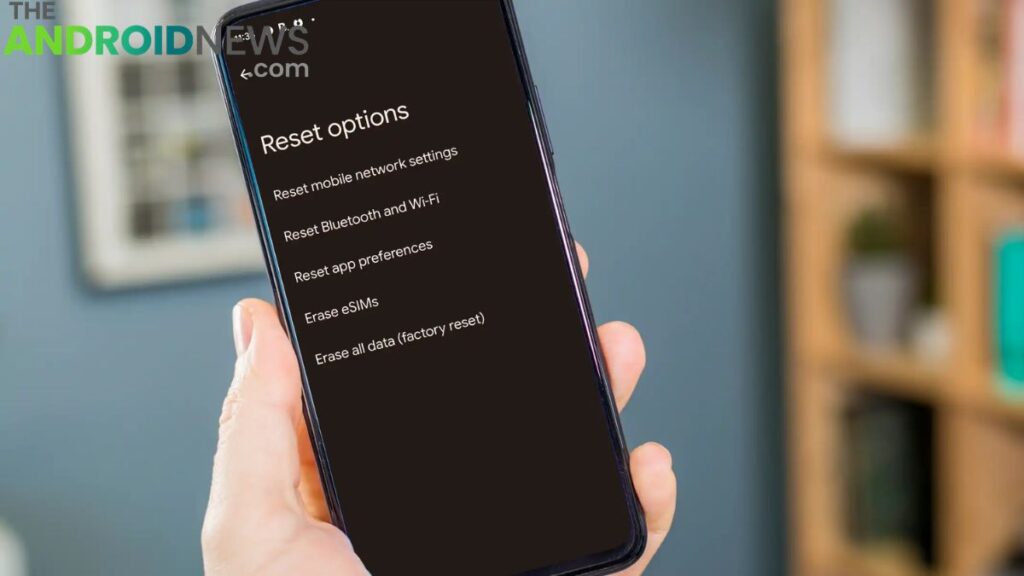
- Google Pixel / Pure Android: System > Reset options
- Samsung Galaxy: General management > Reset
- Shortcut: Type “Factory reset” into the Settings search bar.
Erase all data: Final step
Tap Erase all data (factory reset). Your phone will show a list of what will be deleted. Tap Erase all data, enter your lock screen PIN or password, and confirm.
How to Restore?
Restoring an Android device after a factory reset is a straightforward process when backed-up data is available. After the reset is complete, signing in with a Google Account allows the device to begin recovering previously saved apps, settings, contacts, and other personal data. This transforms the phone from a blank setup screen into a familiar and personalized environment.
As the restoration progresses, apps reappear, preferences are reconfigured, and important information is synchronized automatically. Each restored icon and setting reflects the recovery of a user’s digital workspace, making the transition back to normal use efficient and seamless.
Understanding how to factory reset Android device is valuable not only for troubleshooting or starting fresh, but also for ensuring that data can be restored quickly through cloud backups. The process highlights the importance of backup systems in maintaining continuity and reducing disruption after a reset.
Final Thoughts
Knowing How to Factory Reset Android can breathe new life into it, offering a fresh start when performance issues arise or when preparing for a new user. Remember to back up your important data, as this process erases everything on your device.
How to Factory Reset Android: FAQs
What does *#9900 to your Android phone?
Entering *#9900 on your Android phone opens the System Dump Mode, a feature primarily used by developers and advanced users for diagnostic purposes. This mode provides access to various system logs and statuses, allowing users to view detailed information about their device’s operations.
How to factory reset Android phone that’s locked?
To factory reset a locked Android phone, you’ll need to access Recovery Mode using the device’s physical buttons. First, turn off your phone. The specific button combination can vary by model, but generally, you’ll hold the Power and Volume Up buttons simultaneously.
Can I factory reset with buttons?
You can factory reset your phone using physical buttons by first powering the device completely off. Next, press and hold a specific combination of the power and volume buttons until the system recovery menu appears on the screen. Finally, use the volume keys to navigate to the “Factory Reset” option and press the power button to select it.
What is *#002 used for?
The code *#002# is a universal GSM service code used to disable all active call forwarding on your mobile phone. When you dial this code, it effectively cancels any call forwarding settings, meaning that incoming calls will ring through to your device instead of being redirected elsewhere, such as to another number or voicemail.
Can I factory reset from settings?
Yes, you can factory reset your device directly from the settings menu. Most smartphones, tablets, and computers have a dedicated option to perform this action.