Rooting Android Phones gives you full administrative control over your device, unlocking a range of possibilities like removing bloatware, installing custom ROMs, improving performance, and using root-only apps. While rooting traditionally required a computer, there are now simpler methods available, both with and without a PC, to root your Android phone with ease.
You can now root your device in two ways: with a PC using tools like Magisk and TWRP, or without a PC using APK-based tools. This guide will walk you through both methods, explaining each step clearly.
Key Takeaways:
Rooting gives full administrative control over your Android phone, allowing customization, app management, and performance tweaks.
Two main methods: You can root with a PC using Magisk & TWRP or without a PC using APK tools like KingoRoot.
Rooting comes with risks such as security vulnerabilities, warranty voiding, and potential device bricking.
Preparation is key: Always backup your data, charge your device, and enable developer options before starting the rooting process.
Root verification: After rooting, use apps like Root Checker or Magisk Manager to ensure root access is working properly.
Root management: Use apps like Magisk Manager to control which apps have root access and maintain security on your device.
Table of Contents
What is rooting Android phones?
Rooting is the process of gaining superuser (root) access to the Android operating system. When rooted, you can:
Remove pre-installed apps (bloatware).
Install custom ROMs and kernels.
Overclock your processor.
Use advanced apps that require root permissions, like Titanium Backup and AdAway.
Access system-level files and make changes to the core functions of your phone.
However, rooting your phone also comes with risks:
Security vulnerabilities: Rooting opens the door for malicious apps if not managed properly.
Warranty void: Rooting generally voids your warranty.
OTA updates: Rooting can prevent your phone from receiving automatic over-the-air (OTA) updates.
Bricking: If the process goes wrong, you can potentially brick your device (render it unusable).
Preparations Before Rooting Your Android Phone
Regardless of the method you choose, you should follow these preparation steps:
Backup Your Data: Rooting may erase all your data, so back up your photos, contacts, apps, and other important files using Google Drive, cloud storage, or an external device.
Charge Your Device: Ensure your phone has at least 50% battery to prevent interruptions during the rooting process.
How Enable Developer Options:
Go to Settings > About Phone.
Tap Build Number 7 times to enable Developer Options.
Go to Settings > Developer Options, and enable OEM Unlocking and USB Debugging.
Enable Installation of Unknown Sources (For APK Method):
Go to Settings > Security (or Settings > Apps & Notifications).
Enable Install unknown apps or Allow from this source for the browser or file manager you’ll use to install the APK file.
Method 1: Rooting Android Phones Using Magisk and TWRP (With PC)
This method involves using Magisk (a systemless root tool) and TWRP (a custom recovery) to root your phone. This method is often preferred by users who want full control and a more robust root solution.
Tools Needed for Root Android:
Magisk.zip (for systemless root)
TWRP Recovery (custom recovery)
USB Cable
PC with ADB and Fastboot installed
Step-by-Step Guide Using Magisk and TWRP (With PC):
1. Unlock the Bootloader:
Unlocking the bootloader is a requirement for installing custom recoveries like TWRP and rooting the device.
Enable Developer Options and OEM Unlocking.
On your PC, use ADB commands to reboot into fastboot mode:bashCopy code
adb reboot bootloader
Unlock the bootloader:bashCopy code
fastboot oem unlock
This will erase your data, so make sure everything is backed up before proceeding.
2. Install TWRP Recovery:
Download the appropriate TWRP recovery image for your device from TWRP’s official website.
Flash the TWRP image using Fastboot:bashCopy code
fastboot flash recovery twrp.img
Boot into TWRP recovery:bashCopy code
fastboot boot twrp.img
3. Install Magisk (Root Your Phone):
Download Magisk.zip from the Magisk GitHub page.
Transfer the Magisk.zip file to your phone’s internal storage or SD card.
In TWRP, select Install, find the Magisk.zip file, and swipe to confirm the flash.
After the process completes, select Reboot System.
4. Verify Root Access:
After the phone reboots, open Magisk Manager to confirm root access.
You can also use a Root Checker app from the Play Store to verify root access.
Method 2: Rooting Android Phones Without a PC (Using APK Tools)
If you don’t have access to a PC or want a simpler method, you can root your Android phone using APK-based tools like KingoRoot, Framaroot, or One Click Root.
Tools Needed for Root Android Without a PC:
KingoRoot APK (or any other APK rooting tool like Framaroot or One Click Root).
Android device running Android 2.3 or later.
An internet connection to download the APK file.
Step-by-Step Guide (Using KingoRoot as an Example):
Download KingoRoot APK:
Visit the official KingoRoot website and download the KingoRoot APK file for your device.
Alternatively, you can download KingoRoot from trusted third-party sources like APKPure if you can’t access the official website directly.
Enable Installation from Unknown Sources:
Go to Settings > Security (or Settings > Apps & Notifications).
Enable Install unknown apps or Allow from this source for the browser or file manager you’ll use to install the APK file.
This will allow you to install apps from sources other than the Play Store.
Install KingoRoot APK:
Open the downloaded KingoRoot APK file to begin the installation.
Once installed, open the KingoRoot app.
Start the Root Process:
In KingoRoot, tap the One Click Root button to begin the rooting process.
The tool will attempt to root your device automatically. This may take a few minutes. Do not interrupt the process.
Reboot Your Device:
After the rooting process completes, the app will prompt you to reboot your device.
Once your device reboots, the rooting process is complete.
Verify Root Access:
After rebooting, open the KingoRoot app to check if it confirms root access.
You can also download a Root Checker app from the Google Play Store to verify if your device is rooted successfully.
If the root is successful, you’ll see a “Congratulations” message.
Root Management (Optional):
If the tool has installed a root manager like SuperSU or KingoRoot Manager, you can use it to manage which apps are granted root access.
You may also install Magisk Manager for further root management and access to advanced features like Magisk Modules.
Pros and Cons of Rooting Android (With and Without a PC)
Rooting with a PC (Using Magisk & TWRP)
Pros
Cons
Systemless Root: Keeps the system partition unmodified for better safety and stability.
Complex Process: Requires a computer and knowledge of ADB and Fastboot commands.
Complete Control: Full control over the device’s software, including custom ROMs and kernels.
Risk of Bricking: Incorrectly flashing TWRP or Magisk can result in a bricked device.
Advanced Customizations: Ability to flash custom ROMs, make Nandroid backups, and recover from boot loops.
Data Loss: Unlocking the bootloader wipes all data, so backups are essential.
Device Compatibility: Newer devices may have locked bootloaders, making this method more challenging.
Rooting Android Phones
Rooting Without a PC (Using APK Tools like KingoRoot)
Pros
Cons
Simple and Fast: No PC needed; the process is quick with just a few taps.
Limited Features: Lacks some advanced features and stability improvements offered by Magisk and TWRP.
User-Friendly: Ideal for beginners who want an easy, command-free process.
Compatibility Issues: Rooting success is not guaranteed on all devices or Android versions. Some devices may block root access.
No Data Loss: Rooting without unlocking the bootloader typically doesn’t cause data loss.
Security Risks: Apps like KingoRoot may not offer full control or safety features like Magisk, potentially exposing the device to security vulnerabilities.
Rooting Android Phones
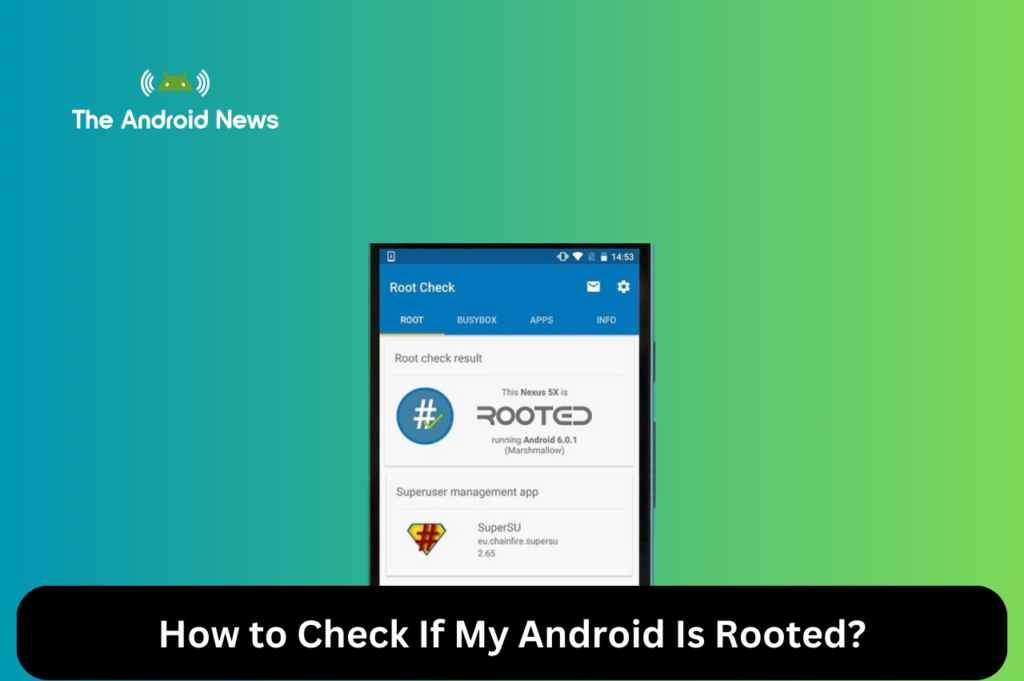
How to Check If My Android Is Rooted?
After rooting, it’s essential to confirm that your device has root access. Here’s how you can check:
Root Checker App:
Download the Root Checker app from the Google Play Store.
Open the app and tap Verify Root.
If your device is rooted, you will see a confirmation message such as “Congratulations! This device has root access.”
2. Magisk Manager (for Magisk users):
If you used Magisk to root, open Magisk Manager. If it shows that the root status is “OK,” your phone is successfully rooted.
Magisk Manager also allows you to manage root access for individual apps and install additional Magisk Modules for enhanced features.
Helpful Tips for Rooted Devices
Use a Root Management App:
After rooting, use a root manager like Magisk Manager or SuperSU to control which apps are granted root access. This adds an extra layer of security.
2. Backup Your Device Regularly:
Use Titanium Backup or Nandroid Backup to backup your apps and system data.
Nandroid backups can be performed through TWRP to restore your system to a working state if anything goes wrong.
3. Stay Secure:
Rooted devices are more susceptible to security threats. Install a good antivirus, use a firewall app like AFWall+, and be cautious about granting root access to untrusted apps.
4. Avoid OTA Updates:
After rooting, your device may no longer be able to receive Over-The-Air (OTA) updates. You may need to manually install firmware updates.
Magisk allows you to hide root from certain apps, including OTA updaters, to prevent issues with system updates.
Bonus Tips: Root Alternatives
If you want advanced features without rooting, consider the following alternatives:
Tasker: Automate tasks on your phone like changing settings, sending messages, or triggering actions based on location or time.
AirDroid: Control your Android phone remotely from a computer, transfer files, or manage notifications and calls.
VNC Viewer: Remotely access your Android device’s screen without requiring root.
Bottom Lines
Rooting your Android phone unlocks a wealth of possibilities, from custom ROMs to advanced app features. However, it also carries risks that you should carefully consider.
If you’re an advanced user, using Magisk and TWRP gives you full control and systemless root access. This method is perfect for complete customization and flexibility. If you prefer a simpler, no-PC solution, APK-based tools like KingoRoot provide a faster and easier alternative.
Regardless of which method you choose, always remember to back up your data beforehand. Be careful with root permissions and make sure you don’t compromise your device’s security. Rooting can be powerful, but it’s important to follow the steps closely to avoid any problems.
By following this guide, you’ll be able to safely root your device and unlock its full potential!